How to Build a DIY Fire Pit Paver Seating Wall
A paver seating wall around a fire pit turns a backyard into a real outdoor room. You go from dragging chairs across the grass every weekend to having permanent, comfortable seating that holds eight adults without anyone scrambling for a spot.
This project is more approachable than most people think. If you can stack blocks, use a level, and follow a chalk line, you can build one in a weekend. The key is getting the first course right, because every row above it depends on that foundation.
This guide walks through layout, leveling, block selection, and the four products that make the biggest difference in how the finished wall looks and holds up after a few winters.
1.Best Fire Ring Insert for a Block Seating Wall
Before you stack a single block, you need a steel fire ring set into the ground. Building a wall directly around an open fire pit without one means the heat radiates straight into the concrete, which causes cracking and spalling within a season or two. The ring creates a buffer between the fire and your masonry, and it keeps the pit shape consistent as you build around it.
The Titan Great Outdoors 24-inch steel fire ring is the right size if your pit will land in the 3 to 4-foot diameter range. It is heavy-duty welded steel with a rim that sits flush at ground level, and the 24-inch opening is realistic for a seating wall that fits comfortably on a 12x12-foot patio. A smaller ring makes the fire feel cramped when people are sitting that close.
Set this in first, get it level, and then plan your block layout around it. Leave at least 6 to 8 inches of block between the ring and the outer face of your wall. That gap gives you airflow, a gravel drainage channel, and enough of a buffer that the exterior surface stays touchable even after the fire has been going for an hour.
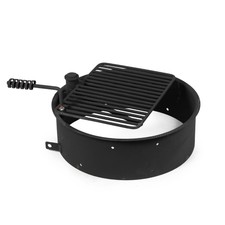
Titan Great Outdoors 24-Inch Round Steel Fire Ring
$54
3,800+ reviews
Heavy-duty welded steel ring that protects your masonry from direct heat and keeps the pit shape consistent while you build the surrounding wall.
Shop on Amazon →2.Best Adhesive for Stacking Retaining Wall Blocks
Most first-time builders skip the adhesive and rely on gravity alone. That works fine for the first winter. By the second, after freeze-thaw cycles start working on the joints, sections of wall begin to shift. On a seating wall that people actually sit on, that is a real problem.
Loctite PL 500 is the standard in landscaping for a reason. It bonds concrete to concrete, cures in about 24 hours, and stays flexible enough to handle seasonal movement without cracking or separating. One 10-ounce tube covers roughly 15 to 20 linear feet of block joints. Pick up three or four tubes for a typical 12-foot diameter wall.
Apply it in a zigzag bead across the top of each course before setting the next layer. You do not need to cover the full surface, just enough to grip. The most critical joint is the top course where capstones meet the wall. That is the spot that takes the most abuse from weather and from people sitting and shifting their weight.
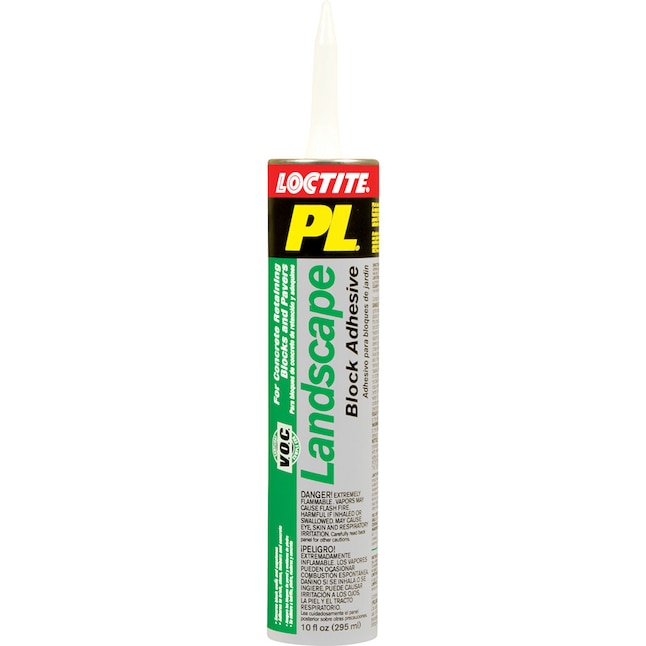
Loctite PL 500 Landscape Block Adhesive 10 oz
$9
12,400+ reviews
Flexible, weatherproof adhesive rated specifically for concrete and landscape blocks. Keeps courses locked without cracking through winter freeze-thaw cycles.
Shop on Amazon →3.Best Cap Blocks for a Finished Seating Wall
Capstones are what separate a finished seating wall from a project someone stopped halfway through. They give the top edge a smooth, flat surface to sit on and protect the open cores of standard retaining wall block from holding water. The right cap also overhangs the block face slightly, which gives the wall a clean edge that looks intentional.
Oldcastle concrete retaining wall caps are a reliable choice available in several natural stone finishes. They run about 10 inches wide and 1.5 inches thick, which gives you a solid sitting surface without adding so much height that the wall feels awkward. For a 12-foot diameter circle, plan on 20 to 22 caps depending on how your blocks land at the curve.
Go with a natural gray or charcoal finish if you want the wall to look like it belongs in the yard. Let the adhesive cure fully before applying a penetrating concrete sealer to the cap surface. That one step makes ash cleanup dramatically easier after fire nights, and it keeps the caps from absorbing water that would otherwise stain or crack them over time.
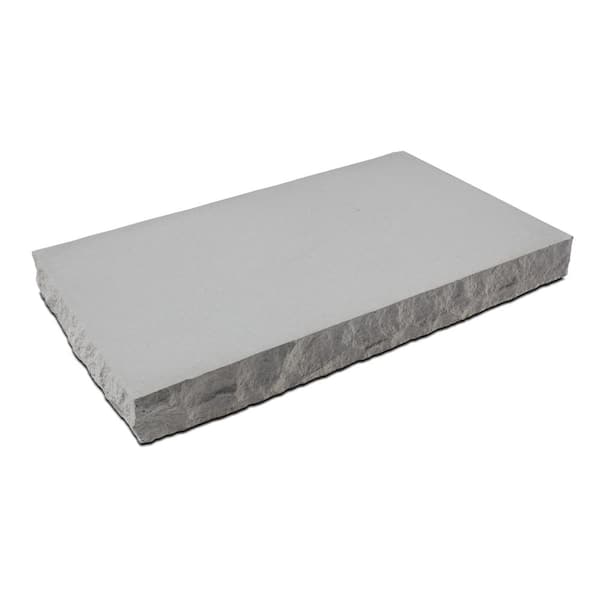
Oldcastle 10.5 in. x 3.5 in. Concrete Retaining Wall Cap (12-Pack)
$48
2,100+ reviews
Smooth, flat concrete caps with a slight overhang profile that finishes the wall cleanly and provides a comfortable, durable surface for actual sitting.
Shop on Amazon →4.Best Weatherproof Cushions for a Paver Seating Wall
Concrete is not comfortable to sit on for two hours. Even with smooth capstones, you need cushions if this space is going to get real use. The challenge with a paver wall is that there is no backrest, so you need seat pads that hold their shape on a flat edge without sliding around every time someone shifts.
Arden Selections outdoor seat cushions are filled with a fade-resistant polyester that holds its loft through seasons of outdoor use. They come in seat-only configurations that fit well on a 10 to 12-inch wide capstone. The fabric is rated for UV and moisture resistance, and they drain quickly after rain so nobody is sitting on a wet sponge the next morning.
Order a few extras when you buy. Seating walls are communal, guests rearrange everything, and you do not want to run short when you have a full circle of people. Store them in a deck box through the off-season, or just pull the covers off and stack them in the garage. They take up very little space and survive storage without losing shape.
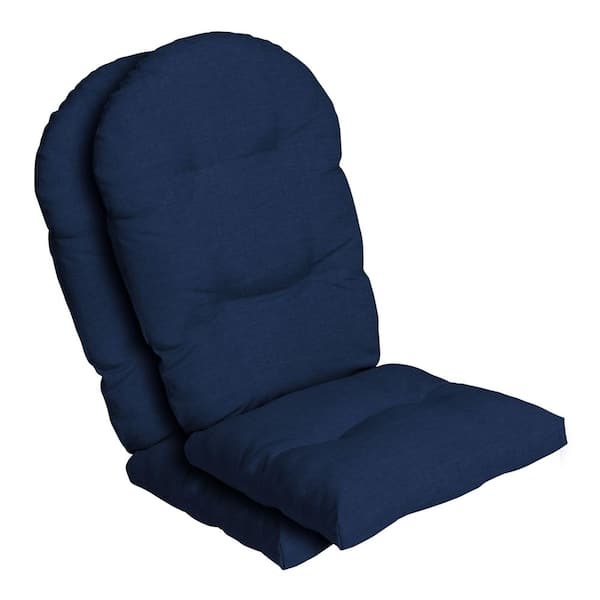
Arden Selections Outdoor Seat Cushion 20 x 18 in.
$32
8,600+ reviews
Fade-resistant, quick-dry outdoor cushions that stay put on a flat capstone surface and hold their fill through a full outdoor season.
Shop on Amazon →Quick Tips for Building a Paver Fire Pit Seating Wall
Start with a chalk circle, not guesswork. Tie a string to a stake at your fire ring center, measure out your wall radius, and walk a chalk line. This keeps your layout consistent and saves you from correcting course once you are three rows up.
Level the first course obsessively. Every row above it will be as straight as the one below it. Spend more time on row one than feels necessary. A rubber mallet and a 4-foot level are the two tools that matter most at this stage.
Add gravel drainage before you build up. Fill the inside of the block ring with 4 to 6 inches of crushed gravel before building above grade. This prevents water pooling around the fire ring base, which accelerates rust and undermines the surrounding blocks over time.
Stagger your joints like a brick wall. Each block should sit centered over the joint of the course below. Never stack joints vertically. Staggering distributes weight better and gives the wall structural strength without needing mortar.
Seal the capstones before first use. Apply a penetrating concrete sealer after the adhesive has fully cured. It repels water and makes ash cleanup much easier after fire nights. Reapply every two to three years.
Keep the wall between 17 and 22 inches tall. That range matches standard chair seat height, which means sitting on the wall feels natural rather than awkward. Go higher than 24 inches and the wall becomes uncomfortable for most adults and nearly unusable for kids.
You Might Also Love
Frequently Asked Questions
Do I need a permit to build a paver fire pit seating wall?
Most jurisdictions do not require a permit for a decorative wall under 30 inches. Fire pit rules vary more by city and HOA than wall rules do. Check your local municipality for setback distances and open-burn regulations before you dig anything.
How deep does the base need to be for a fire pit seating wall?
Dig at least 6 inches below grade for the base, then fill with compacted gravel before setting your first course of block at or just above ground level. In frost-prone climates, go 8 to 12 inches deep to prevent heaving.
What type of blocks work best for a fire pit seating wall?
Standard concrete retaining wall blocks like Allan Block or Versa-Lok work well. Avoid cinder block, which tends to crack near sustained heat. Look for blocks specifically rated for landscape retaining walls. They are denser and handle outdoor exposure far better.
How many blocks do I need for a 10-foot diameter fire pit seating wall?
For a circular wall about 3 courses high with a 10-foot outer diameter, plan for 60 to 80 standard retaining wall blocks plus 18 to 20 capstones. Order 10 percent extra to account for cuts and any breakage during installation.
Can I use regular construction adhesive instead of landscape block adhesive?
Regular construction adhesive bonds fine initially but tends to go brittle in outdoor conditions over time. Landscape block adhesive like Loctite PL 500 stays flexible through freeze-thaw cycles, which is exactly what you need in a structure that sits outside year-round.