How to Build a Backyard Fire Pit Area on a Budget (Under $300)
You don't need thousands of dollars to create a fire pit area that looks amazing. With $200–$300 and a free weekend, you can build a cozy gathering spot your family will use all year long. This guide walks you through it step by step — with real material costs and layout ideas for every yard size.
Affiliate disclosure: Some of the links below are affiliate links, meaning we may earn a small commission if you make a purchase — at no extra cost to you. This helps support PorchAndFire so we can keep creating free guides like this one.
Step 1: Pick Your Spot
Before you spend a dime, walk your yard and find the right location. This step is free and the most important one you'll take.
- 10-foot clearance — Keep your fire pit at least 10 feet from any structure, fence, or overhanging branches.
- Level ground — A flat surface is essential for safety and comfort. You can level a small area with a shovel and a rake.
- Wind patterns — Notice which direction the wind usually blows. Position seating upwind so smoke drifts away from guests.
- The view — Think about what you'll see from the seating area. Face chairs toward the best part of your yard, garden, or sunset.
Step 2: Create Your Base ($50–$100)
A solid base keeps weeds down, prevents mud, and gives your fire pit area a finished look. Here's the simple approach:
- Mark out a circle or square (8–12 feet across works well).
- Remove grass and debris down about 2–3 inches.
- Lay landscape fabric to block weeds.
- Fill with pea gravel or crushed stone (about 2 inches deep).
- Add steel or plastic landscape edging around the border to keep gravel in place.
Materials you'll need:
- Landscape fabric / weed barrier — ~$15–$25

- Pea gravel or crushed stone (local hardware store) — ~$30–$60
- Landscape edging — ~$10–$20
Step 3: Choose Your Fire Pit ($50–$150)
You have two great budget-friendly options here:
Option A: DIY Stone Ring (~$50–$80)
Buy retaining wall blocks from your local hardware store and stack them in a circle. No mortar needed — gravity does the work. A 36-inch fire pit ring insert inside the blocks protects them from cracking.
Option B: Budget Portable Fire Pit (~$60–$150)
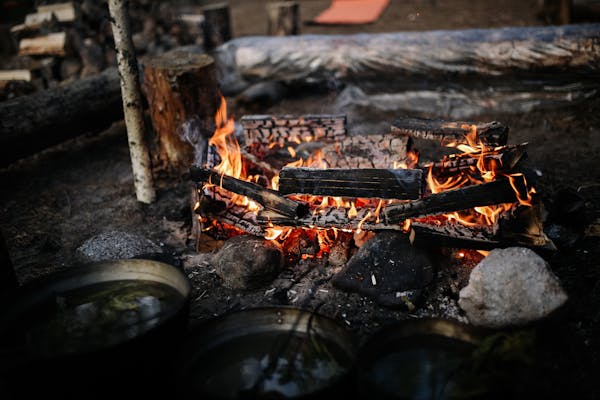
A pre-made wood-burning fire pit is the easiest route. Many come with spark screens and pokers included. Look for steel bowls in the $60–$100 range — they're sturdy enough for years of use.
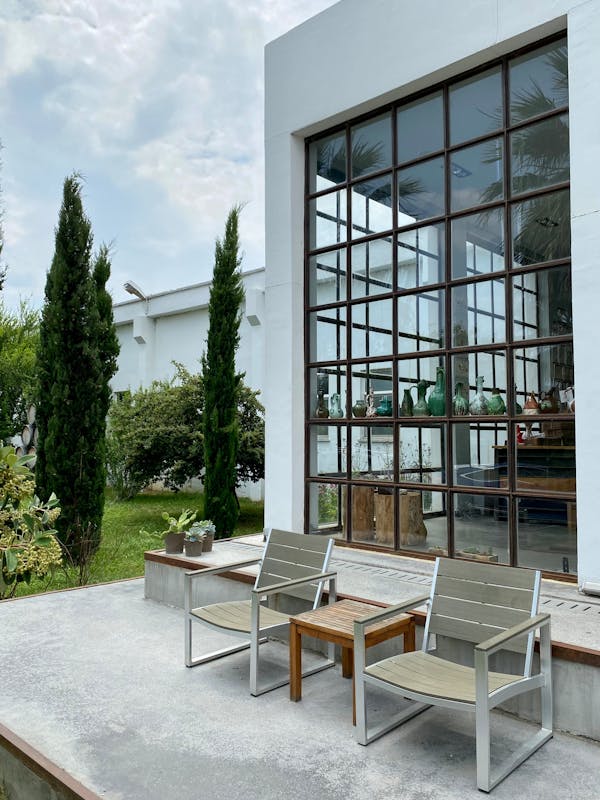
Step 4: Add Seating ($50–$120)
Seating makes or breaks your fire pit area. Here are three budget options:
- Tree stump stools (~$0–$20) — If you have access to a fallen tree or know someone who does, cut logs to 18–20 inches tall. Sand the tops smooth. Free and rustic.
- Folding camp chairs (~$30–$50 for 4) — Not glamorous, but practical. Easy to store and replace.
- Adirondack chairs (set of 2) (~$80–$120) — The classic fire pit chair. HDPE plastic versions are weather-proof and surprisingly comfortable.
Step 5: Finishing Touches ($20–$50)
These small additions make your fire pit area feel intentional and complete:
- Outdoor string lights — Drape them between posts or trees for warm ambient lighting (~$15–$25).

- A small side table for drinks and s'mores supplies (~$10–$20).
- A small firewood rack to keep wood off the ground and within reach (~$20–$30).
Total Budget Breakdown
| Item | Estimated Cost |
|---|---|
| Gravel base & landscape fabric | $50–$100 |
| Fire pit (DIY or portable) | $50–$150 |
| Seating | $50–$120 |
| Finishing touches | $20–$50 |
| Total | $170–$420 |
Most people land in the $200–$300 range with a mix of DIY and purchased items.
Layout Ideas
Classic Circle
Fire pit in the center with chairs evenly spaced around it. Works best with a round gravel base (10–12 feet across). The most social layout — everyone faces each other and the fire.
L-Shape
Place the fire pit in a corner of your yard with seating along two sides. Great for smaller spaces or when you want to keep one side open. Works well with a bench on one side and chairs on the other.
Social Pit
A sunken or slightly recessed area with low seating all the way around. Use a larger gravel pad (12+ feet) and arrange mismatched seating — a couple of Adirondack chairs, some stumps, and a bench. It feels casual and inviting.
Common Mistakes to Avoid
- Skipping the base — Without gravel and landscape fabric, you'll be fighting weeds and mud within weeks.
- Placing it too close to the house — Always maintain at least 10 feet of clearance from structures. Check your local fire codes too.
- Buying chairs that are too wide — Measure your space first. Leave 3–4 feet between chairs and the fire pit edge.
- Forgetting a spark screen — Especially important with wood-burning pits. A spark screen keeps embers from floating onto nearby surfaces.
- Not checking local regulations — Some HOAs and municipalities have rules about fire pits. A quick call to your local fire department can save you a headache.
The Bottom Line
A backyard fire pit area doesn't have to cost a fortune. With some basic materials, a free weekend, and a little creativity, you can build a space your family and friends will gravitate toward all year long. Start simple, and add to it over time — that's the beauty of a budget build.