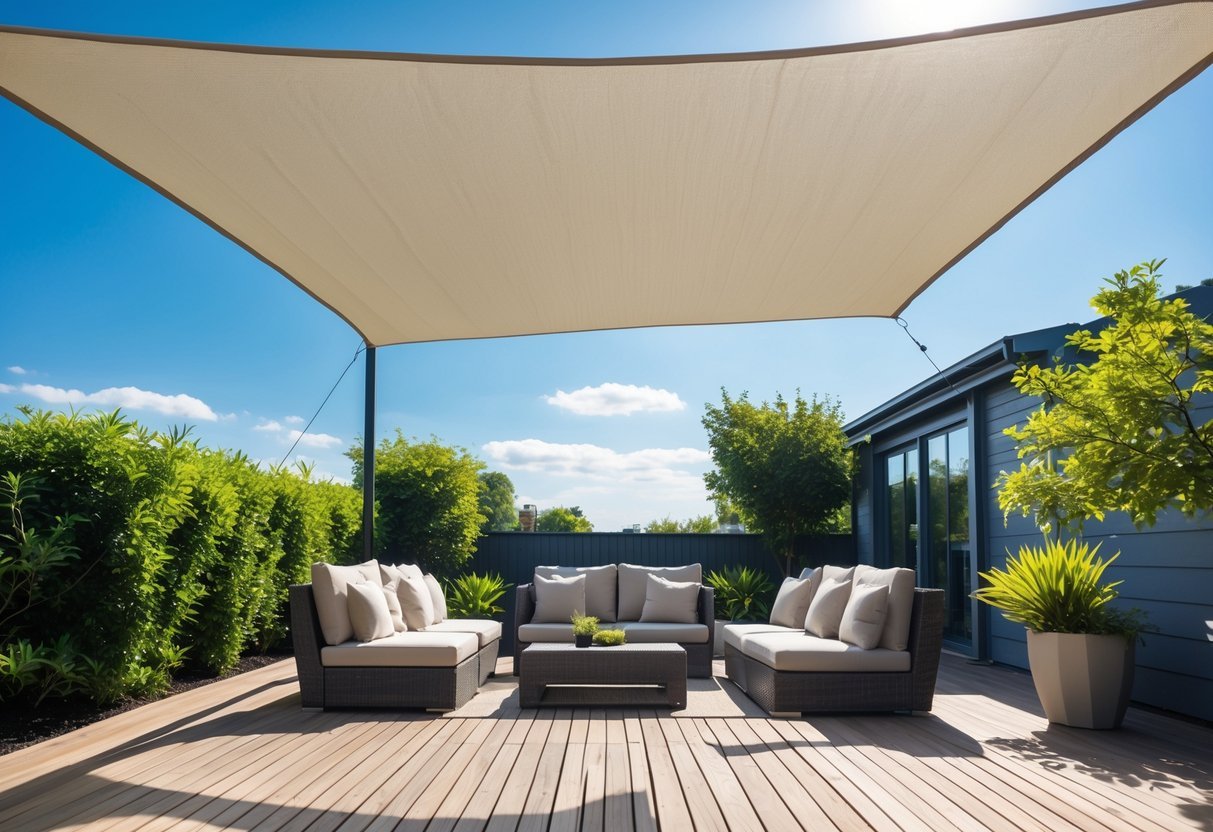
How to Install a Shade Sail in Your Backyard
A shade sail can drop the temperature under it by 10 to 15 degrees, and you can install one in an afternoon without hiring anyone. The whole project, posts included, runs between $150 and $350 depending on size and what anchor points you already have.
The planning stage is where most people get tripped up. You need at least three solid anchor points, and they need to be positioned so the sail sits at an angle, not flat. A flat sail pools water and sags. A sail angled 20 to 30 degrees off horizontal sheds rain and stays taut through the wind.
This guide walks through picking the right sail shape, setting up anchor points from scratch if you need to, and getting the tensioning right so your install actually holds up. The five products below are the ones worth buying for each piece of the job.
Best Rectangle Sail for a Standard Patio
If your seating area is roughly 10x14 feet, a 12x16 rectangle gives you the coverage you want with a foot or two of overhang on each side. That overhang matters. The sun is rarely directly overhead, so you need the sail to extend past your chairs and table to actually shade the people sitting there.
The ColourTree rectangle is knitted HDPE fabric with a 90 percent UV block rating, which is about as good as you'll find at this price. The D-rings at each corner are stainless steel and feel solid. Four attachment points means you're hanging it from four anchors, so spend a few minutes with chalk and a tape measure mapping out where those corners will land before you order.
Installation is straightforward. Attach one corner to your highest point first, then work diagonally. Leave all four turnbuckles loose until every corner is clipped in, then tighten from corner to corner in a cross pattern. You want a slight belly in the fabric, not a drumhead tension. A sail stretched perfectly flat is actually more likely to tear in high wind.
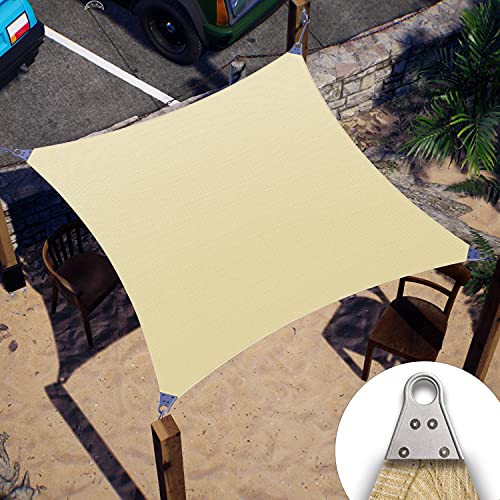
ColourTree 12' x 16' Rectangle Sun Shade Sail
$65
8,500+ reviews
UV-blocking HDPE fabric with stainless D-rings, available in a wide range of sizes and colors for custom patio coverage.
Shop on Amazon →Best Triangle Sail for a 3-Point Corner Setup
Three anchor points is actually easier to pull off than four, especially on an irregular patio. You can run one corner to the eave of the house, one to a fence post or tree, and one to a freestanding post you set yourself. That asymmetric triangle naturally creates the slope you need for rain runoff without having to fuss with height differences on all four corners.
Coolaroo has been making shade sails since before most of the Amazon brands existed. Their triangle uses a knitted fabric that allows some airflow through, which keeps the space under it from turning into a greenhouse. The 16'5" sides cover roughly a 14-foot circle of ground shadow at noon, which is enough for a 4 to 6 person dining set.
One thing Coolaroo does right is the corner hardware. The attachment rings are D-shaped and welded closed, not crimped. On the cheaper sails, those rings are the first thing to fail. Run the sail anchor ropes through the D-ring and then to your snap hook or turnbuckle, and you'll have a clean, low-profile connection at each corner.
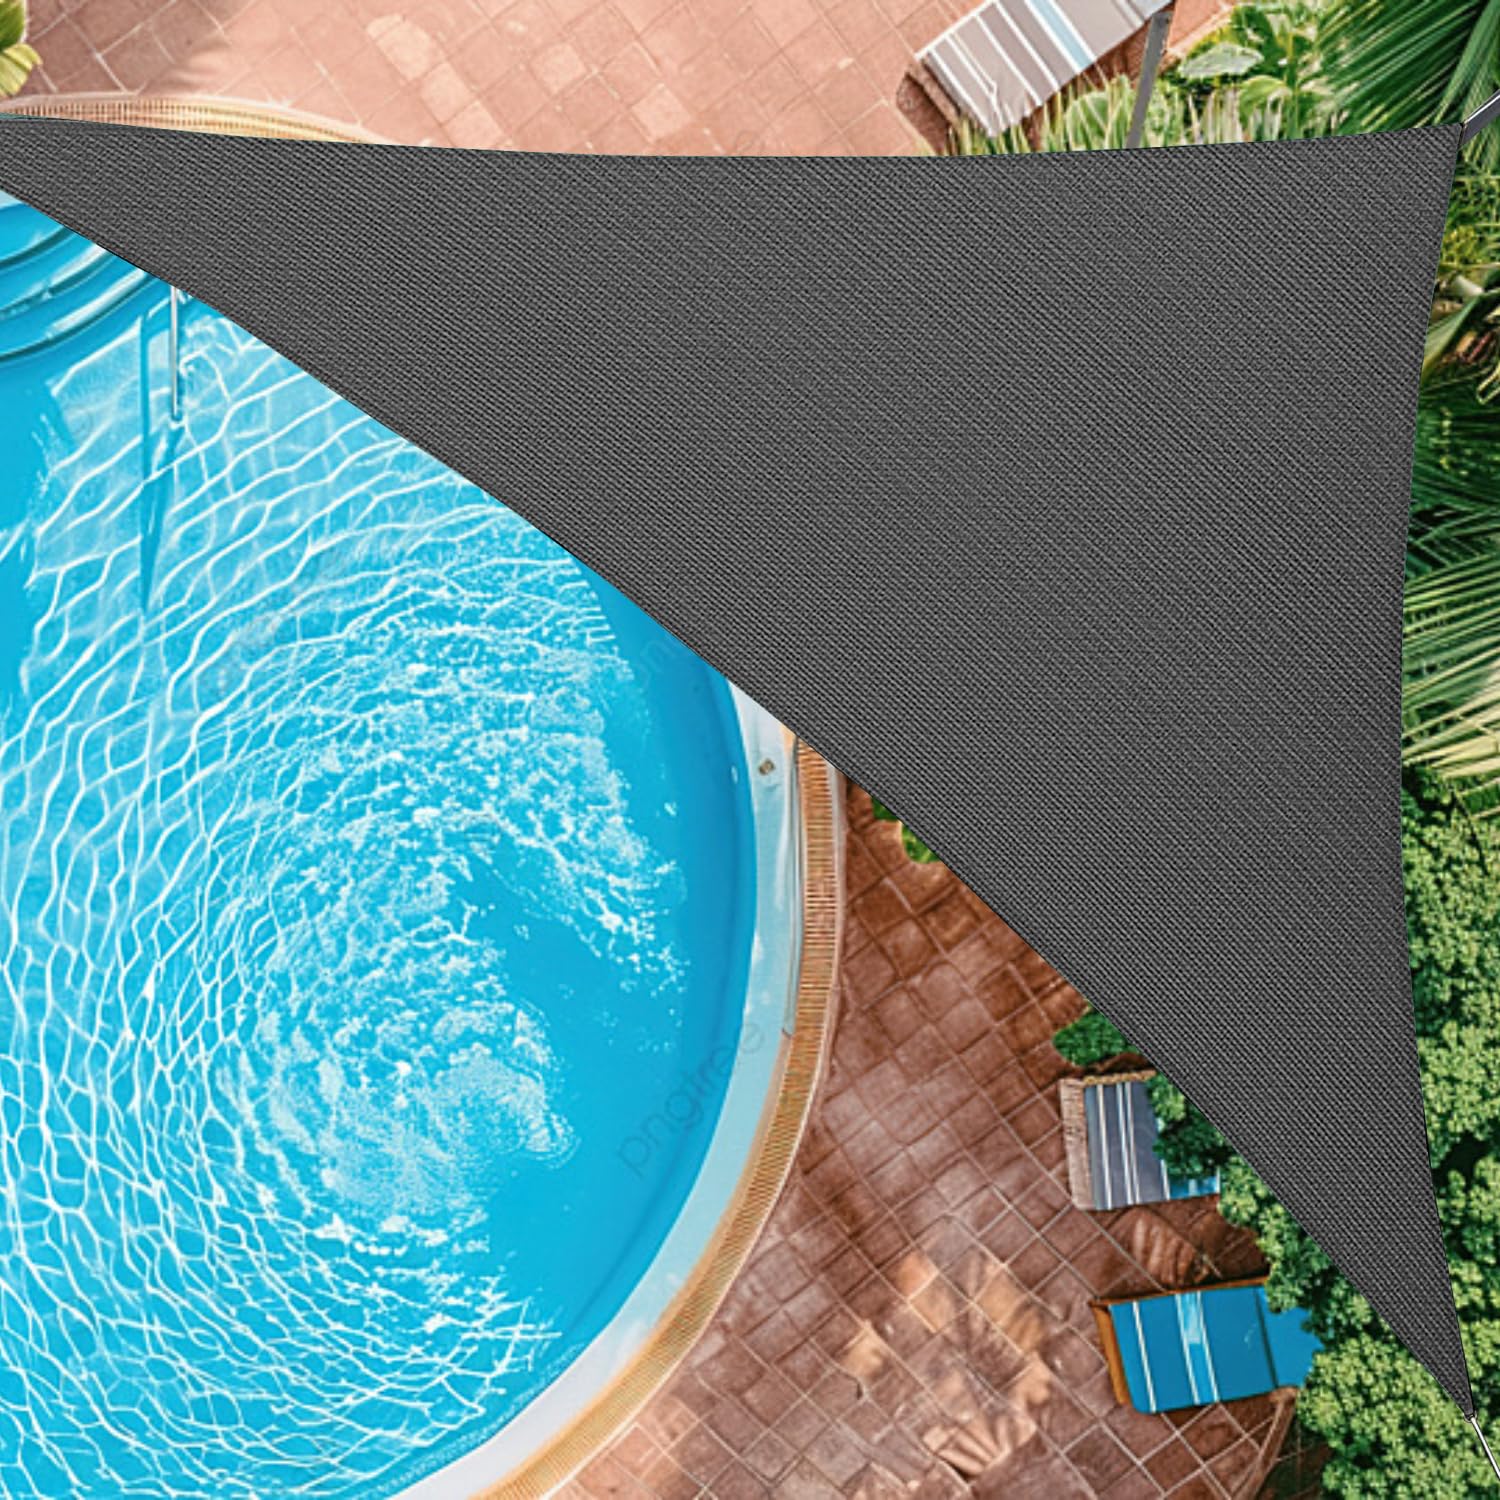
Coolaroo 16'5" x 16'5" x 16'5" Triangle Shade Sail
$89
12,400+ reviews
Breathable knitted HDPE from a brand that pioneered the backyard shade sail, with welded stainless corner rings that outlast the competition.
Shop on Amazon →Best Option for Larger Patios and Open Yards
For a patio larger than 15x15 feet, or a yard where you want to cover a pool lounging area or a stretch of lawn, you need a sail that's purpose-built for the extra load. The fabric has to handle more wind pressure, and the corner hardware has to hold a lot more tension across a wider span.
Windscreen4less makes sails specifically for larger installations, and their heavier-grade fabric is noticeably more substantial than budget options. A 20x20 square provides real coverage for a 16x16 seating area with enough margin to actually block the afternoon sun when it comes in at an angle. The key thing with any sail this size is that all four anchor points need to be truly solid, either lag-bolted into structural lumber on the house, or posts set at least 24 inches into concrete.
At this scale, tensioning with a single turnbuckle per corner is usually not enough. Run two turnbuckles in series if a corner isn't reaching the right tension, or use a longer chain to adjust height. The goal is a consistent, moderate tension across all four sides. If one corner is clearly tighter than the others, the fabric will wear unevenly and start to stretch out at the tight spots within a season or two.
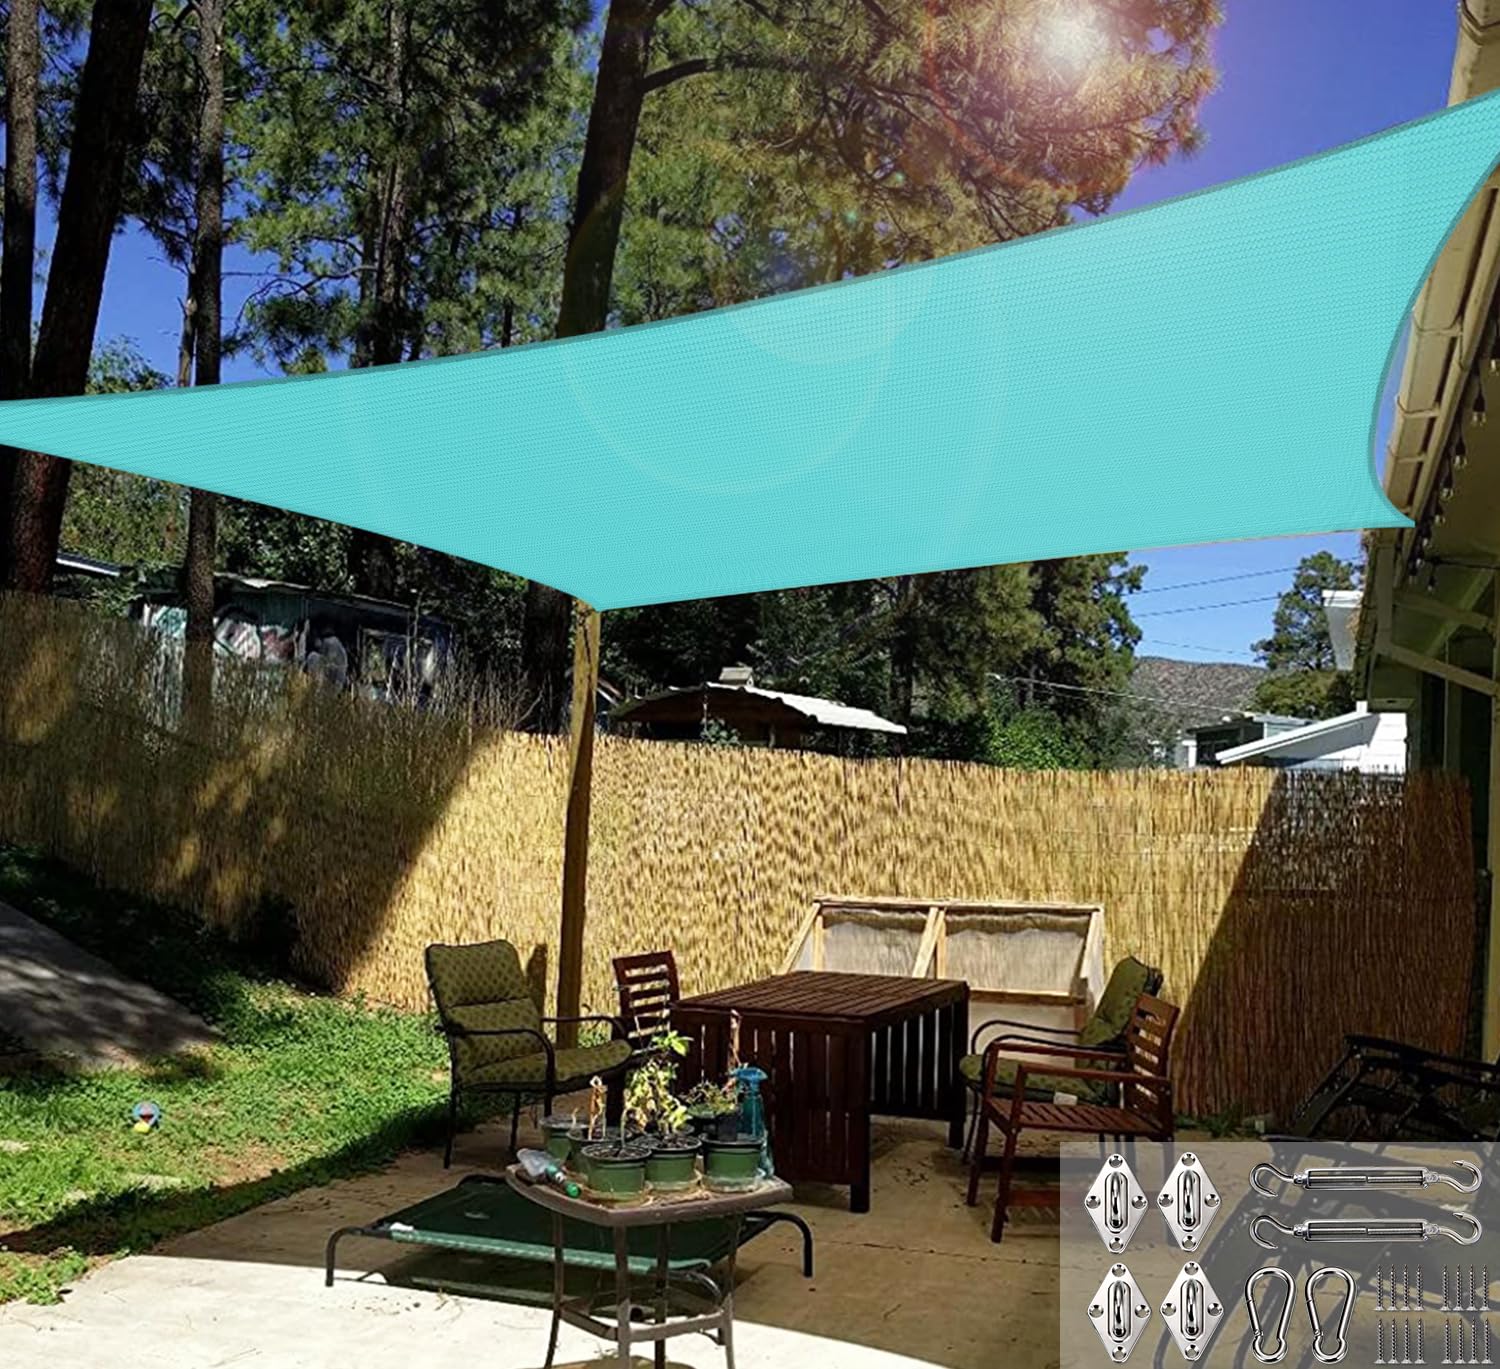
Windscreen4less 20' x 20' Square Sun Shade Sail
$109
5,600+ reviews
Heavy-duty HDPE construction for larger installations, with reinforced edges and stainless steel hardware that handles the extra load of a big span.
Shop on Amazon →Best Hardware Kit for a Clean, Tensioned Install
The sail itself is only half the job. The hardware connecting it to your anchor points determines whether the whole thing holds up or slowly creeps loose over the summer. You need turnbuckles for tensioning, snap hooks or carabiners for quick attachment, D-rings or eye bolts for the anchor point side, and enough chain or rope to make up any height differences between corners.
The Rustark stainless steel kit includes 37 pieces covering all of that. The turnbuckles are jaw-and-eye style, which lets you tension the sail without having to twist the entire rope or chain. The snap hooks have a locking gate so they won't pop open in wind. Everything is 316 stainless, which matters if you're near the coast or in a wet climate. Galvanized hardware looks fine in year one and starts streaking rust stains across your fence in year two.
When you're ready to tension the sail, use a wrench on the turnbuckle body rather than spinning it by hand. You want the turnbuckle extended to about half its range when you first attach it, so you have room to tighten further if the sail stretches slightly over the first few weeks. Thread a zip tie through the turnbuckle barrel after tensioning so it can't back itself off from vibration.
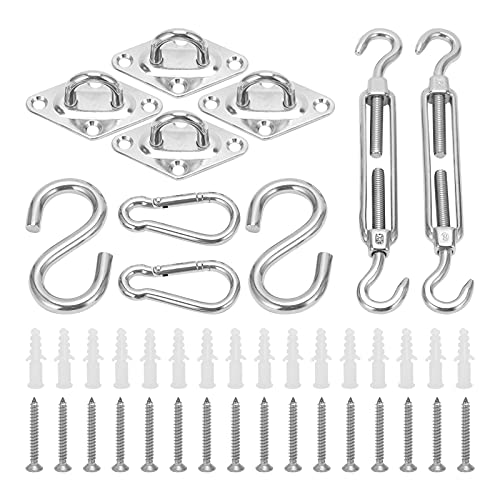
Rustark 37Pcs Stainless Steel Shade Sail Hardware Kit
$32
3,800+ reviews
Complete 37-piece 316 stainless kit with jaw-and-eye turnbuckles, locking snap hooks, and D-rings for a properly tensioned install.
Shop on Amazon →Best Steel Posts When You're Starting from Scratch
Most backyards don't have walls, trees, and fence posts perfectly spaced for a shade sail. When you're missing one or two anchor points, the right move is to set your own posts rather than compromising on placement or running a cable at a weird angle to reach something that barely works.
The LIKIMIO 10-foot galvanized steel posts come as a pair and include a ground plate base, which is what you'll bolt to your concrete footing. For a 10-foot post, dig your hole at least 24 inches deep, ideally 30 inches in areas that freeze. Mix a bag of fast-setting concrete, pour it dry into the hole around the post base, then add water. Come back in 20 minutes and check plumb. Do not attach the sail until the concrete has cured for at least 24 hours.
Set your posts about 12 to 18 inches taller than you want the finished sail height to be. You'll attach to a spot a foot or two below the top of the post, which gives you a cleaner look and keeps the top of the post from being in your sightline. On a 10-foot post set 24 inches deep, you end up with about 8 feet of working height, which is the right clearance for walking under the sail without feeling cramped.
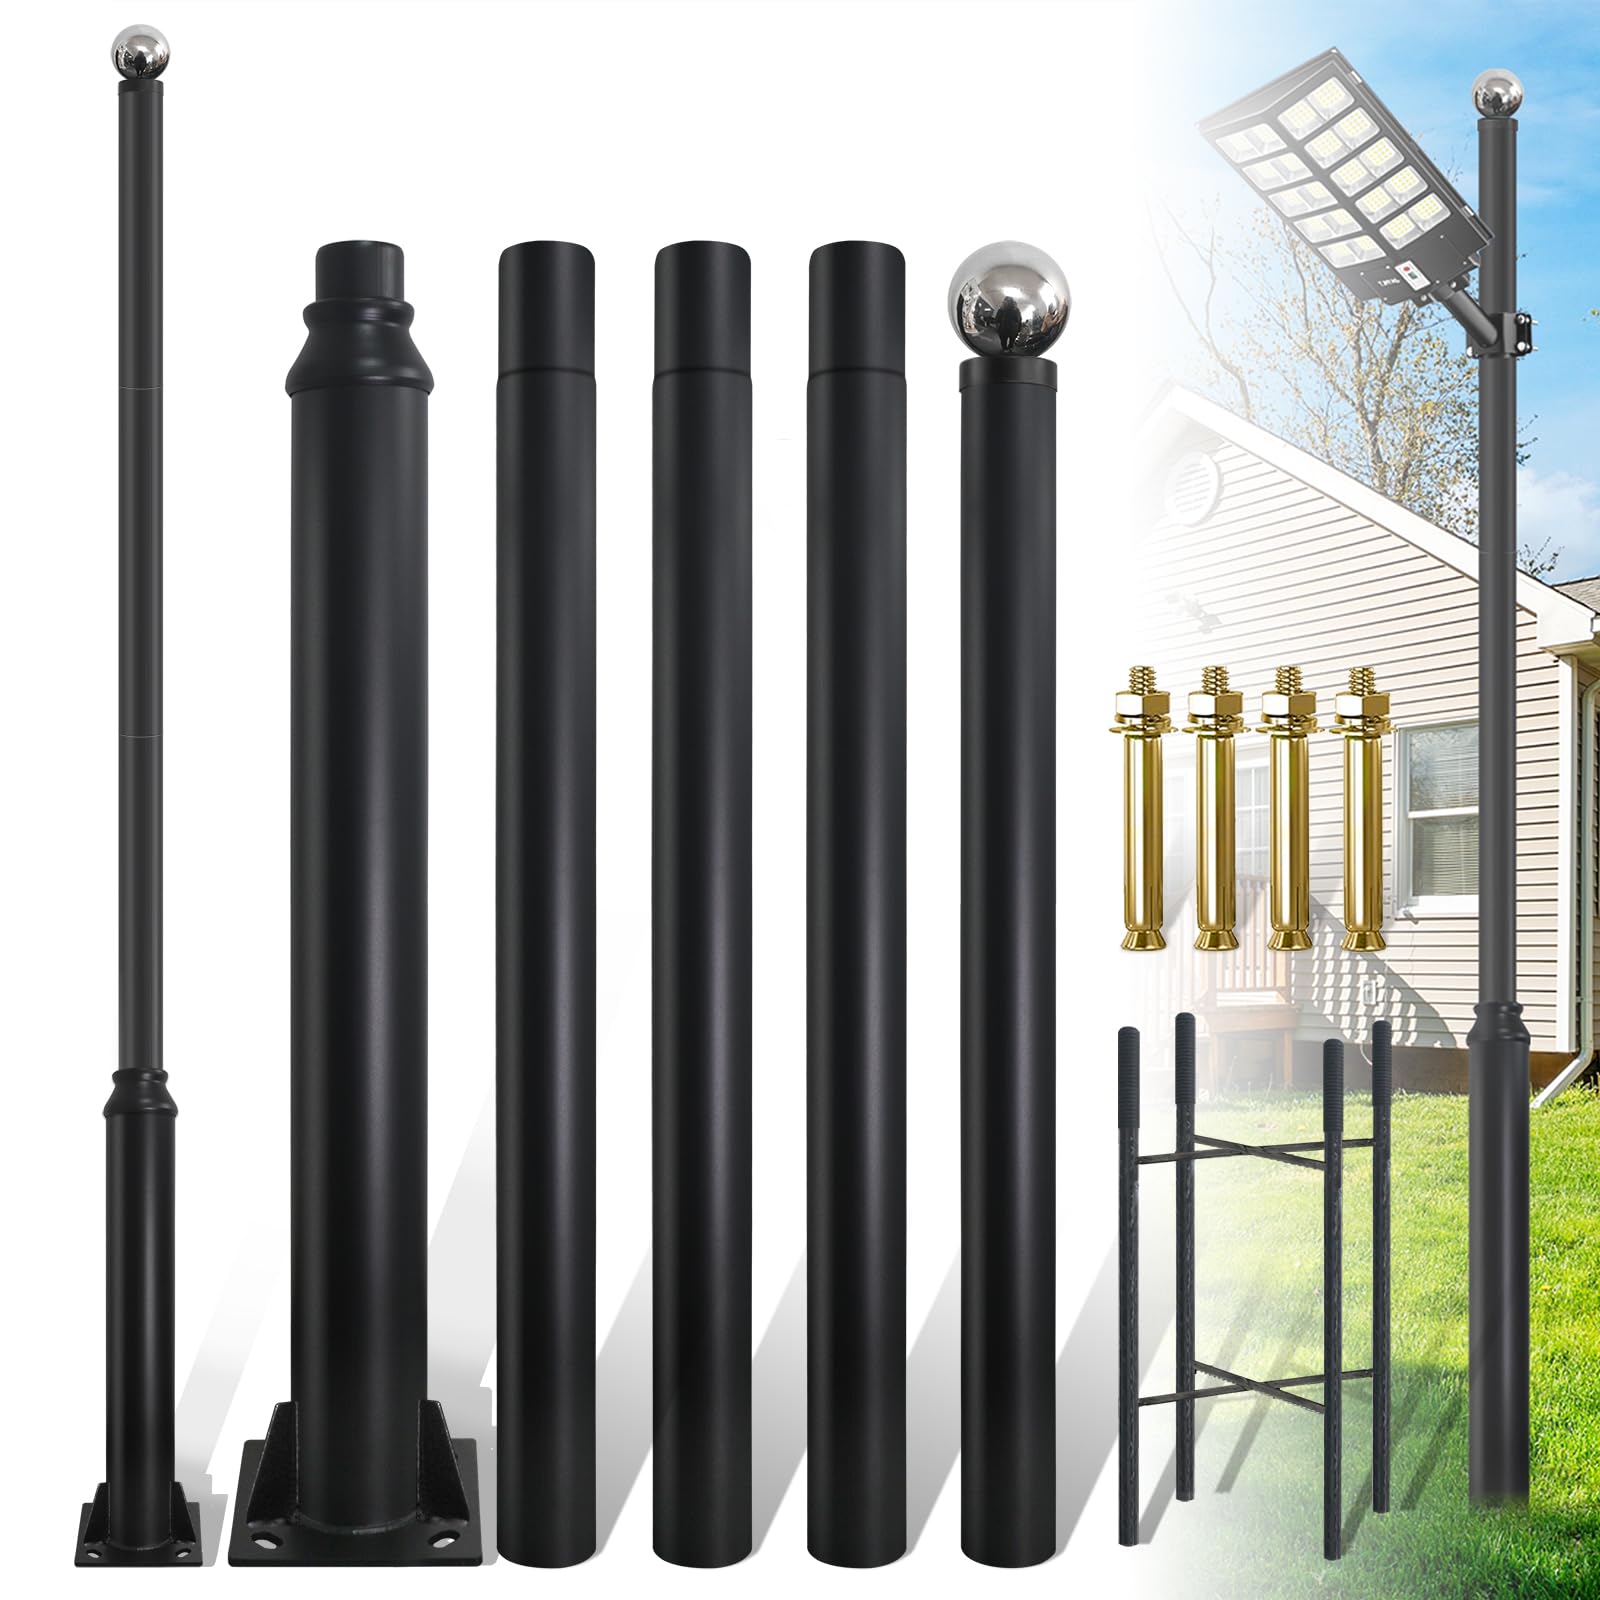
LIKIMIO 10 ft Heavy Duty Galvanized Steel Shade Sail Post (Set of 2)
$115
2,200+ reviews
Pair of 10-foot galvanized steel posts with bolt-down base plates, sized right for a standard residential shade sail install.
Shop on Amazon →Quick Tips for Installing a Shade Sail
- Angle the sail at least 20 degrees off horizontal. A flat sail pools water and eventually tears. One corner higher than the others lets rain sheet off and prevents standing water that stretches the fabric.
- Size up, not down. Order a sail at least 2 feet larger than your seating area on each side. The afternoon sun comes in at an angle, and a sail that just covers your footprint leaves half your chairs in direct sun by 4pm.
- Use 316 stainless hardware, not galvanized. Galvanized hardware rusts and leaves stains on your fence or siding within a season or two. The price difference for stainless is minimal over the life of the install.
- Take it down before the first hard freeze. Most HDPE shade sails are not designed for snow load or sustained ice. Drop it in November and store it in a bag. A $65 sail that comes down each winter will outlast a $120 sail left up year-round.
- Set posts in concrete, not just dirt. A post driven into soil will rack over time under the lateral load of a tensioned sail. A quick-set concrete footing takes 30 minutes of work and makes the install permanent and stable.
- Check anchor point load ratings before you start. A lag bolt into a fence post is not the same as a lag bolt into a structural house beam. Each anchor point on a tensioned sail can see 200 to 400 pounds of force. Use 3/8-inch lag screws going at least 2.5 inches into solid lumber.
Frequently Asked Questions
Does a shade sail keep rain off like a roof?
Not really. Most shade sail fabric is knitted with small gaps that allow airflow, which means light rain gets through. If you tilt the sail sharply (30 degrees or more), heavy rain will mostly run off. For real rain coverage you need a solid fabric sail or a polycarbonate pergola roof.
What size shade sail do I need for a 12x12 patio?
Go with a 14x14 square or a triangle with 16-foot sides. The extra overhang is not wasted. A sail sized exactly to your patio footprint will leave chairs in the sun as soon as the sun moves off its noon position.
How far apart should shade sail anchor points be?
Space them about 2 feet wider than the sail on each side so you have room to adjust tension. If the anchor points are exactly the same distance as the sail edges, you will not be able to get meaningful tension without stretching the fabric.
Can I attach a shade sail to my house wall?
Yes, and it is usually the strongest anchor point you have. Use 3/8-inch lag screws driven into a stud or a roof rafter, not just the siding. A lag bolt in stud should go at least 2.5 inches deep and can hold several hundred pounds of tension without issue.
How deep do shade sail posts need to be set?
At minimum 24 inches, and 30 inches in areas with ground freeze. The lateral load from a tensioned sail is significant. A shallowly set post will slowly lean toward the sail over a season. Concrete footing is not optional for freestanding posts.